Install Genesys Mobile Services
Updated in 8.5.110 / Purpose: To install Genesys Mobile Services in your environment. In a cluster deployment, you must run the installation for each application node of the cluster.
Prerequisites: Create a Genesys Mobile Services Application Object.
With basic Configuration Server details in place, you are ready to complete the installation process.
Installing Genesys Mobile Services on Windows
Start the Installation Wizard
In your installation package, locate and double-click the ![]() icon in windows or install.sh in Linux.
icon in windows or install.sh in Linux.
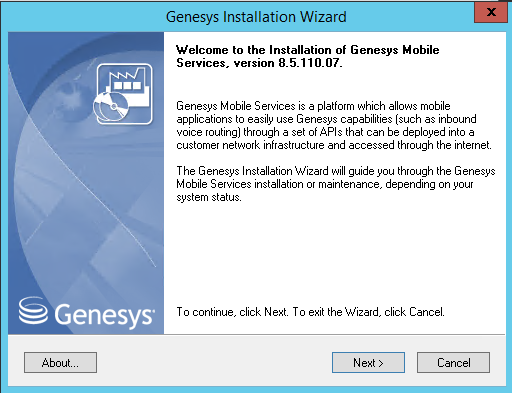
The installation starts. Click Next and follow the instructions below.
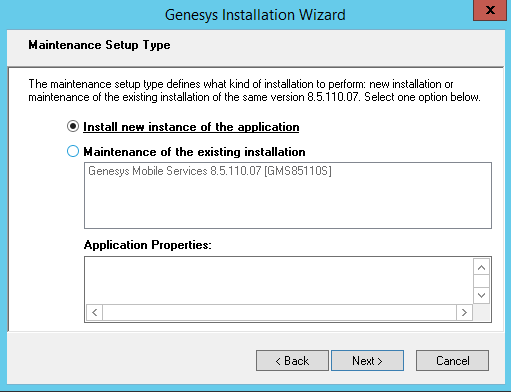
Select Install new instance of the application if you are installing GMS for the first time on this server. Select Maintenance of the existing application to upgrade Genesys Mobile Services and follow the steps detailed in the Upgrade Genesys Mobile Services section of this guide.
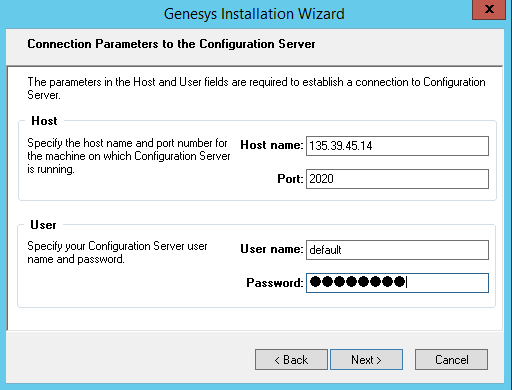
In Connection Parameters to the Configuration Server, specify the host name and port number where Configuration Server is running. (This is the main "listening" port entered in the Server Info tab for Configuration Server, which is also used for authentication in the Configuration Manager login dialog box.)
Click Next.
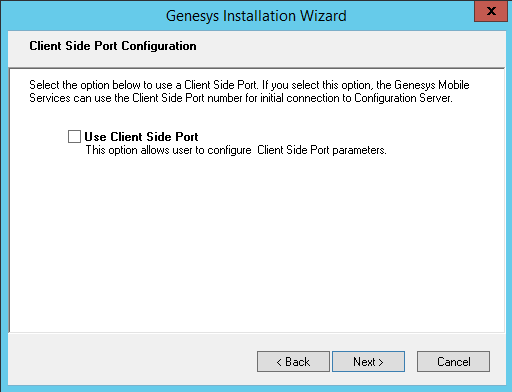
Select Client Side Port if GMS must communicate with the Configuration Server through specific ports, for example, if the Configuration Server is behind a firewall. Otherwise, click Next.
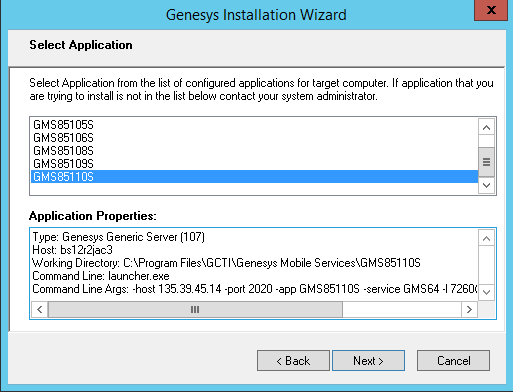
Select your application
Select the Genesys Mobile Services Application object that you created before the installation. The Application Properties area shows information previously entered in the Server Info and Start Info tabs of the selected Application object.
You cannot select a cluster application. You must install each node in a cluster deployment.
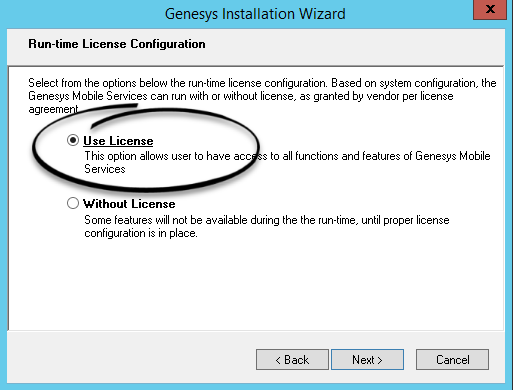
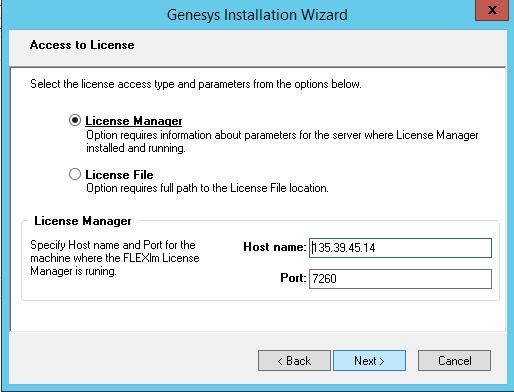
Select Use Licence
Select Use Licence if you want to use Context Services with GMS.
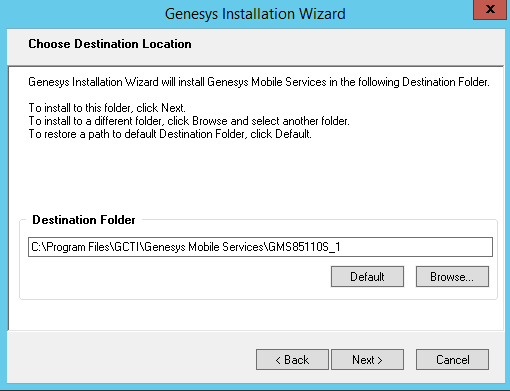
In Choose Destination Location, keep the default destination or browse for the desired installation location under Destination Folder.
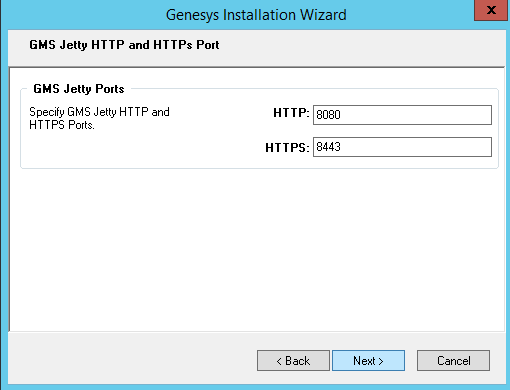
In GMS Jetty Ports, enter the Jetty ports that will be used later to generate the Jetty XML configuration snippet.
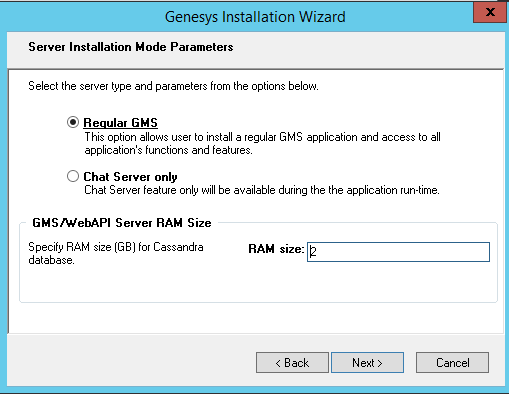
Select the Installation Type
Choose Regular GMS if you wish to implement voice scenarios, Callback, Context Services. This option enables the full GMS functionality—including the Digital Channels API. It also enables the samples for Chat API Version 1, Chat API Version 2, and GMS Chat. Note: This mode requires Cassandra.
Choose Chat Server Only to enable only the Digital Channels API—that is, Chat API Version 2 and Email API Version 2. When you choose this mode, you will not see the Cassandra installation panels, and none of the other GMS features—including the Chat API Version 1 and Chat samples—will work. Click Next.
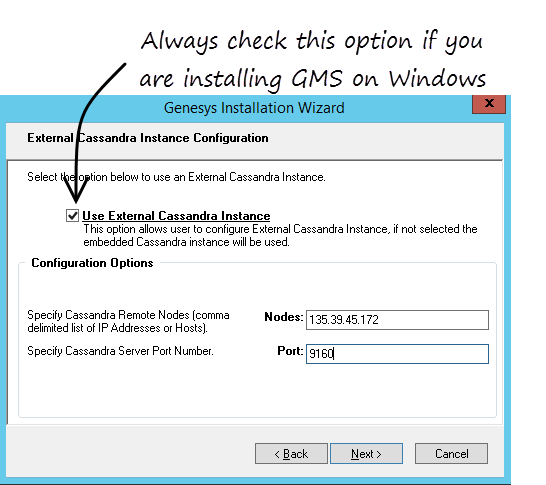
Optional - Configure an External Cassandra
If you want to use the embedded Cassandra instance that is packaged with GMS, do not select the checkbox Use Cassandra External Instance. Else, select the checkbox and make sure that create-embedded-server=false in your GMS Configuration.
Enter the comma-separated list of Cassandra nodes, and for the port value, use the rpc_port. Note: rpc_port is the thrift port for client connections in the cassandra.yaml configuration file.
Click Next.
Optional - Configure the Embedded Cassandra
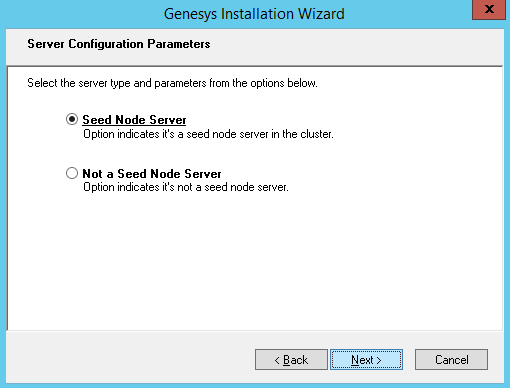
If you use the embedded Cassandra, specify whether this instance of Genesys Mobile Services is going to be a seed node server (a primary server within a GMS cluster). In either case, you also need to specify the amount of RAM dedicated to maintaining the Apache Cassandra database that Genesys Mobile Services uses for its operations (Genesys recommends allocating 2Gb of RAM for JVM).
Also, if you make this instance a backup server, you must specify the IP Address of the primary Genesys Mobile Services server before continuing.
Finally, configure create-schema=true for the first start of the first GMS instance in order to create the required Cassandra schemas.
Complete the Installation
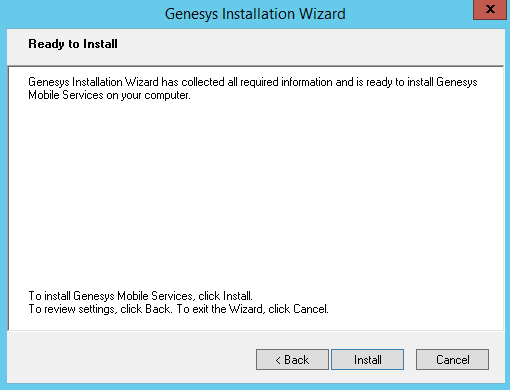
The Ready to Install screen appears. Click Install. The Genesys Installation Wizard indicates that it is performing the requested operation.
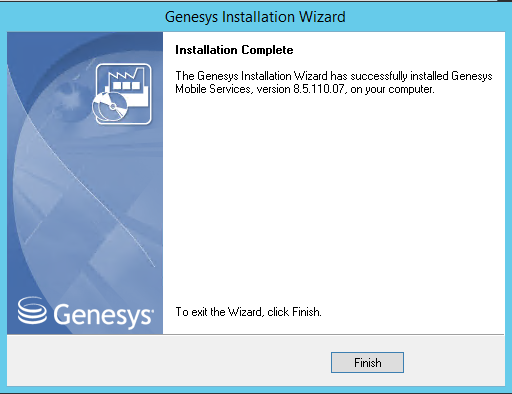
When through, the Installation Complete screen appears. Click Finish to complete your installation of Genesys Mobile Services.
Repeat this procedure to install GMS on other hosts.
Installing Genesys Mobile Services on Linux
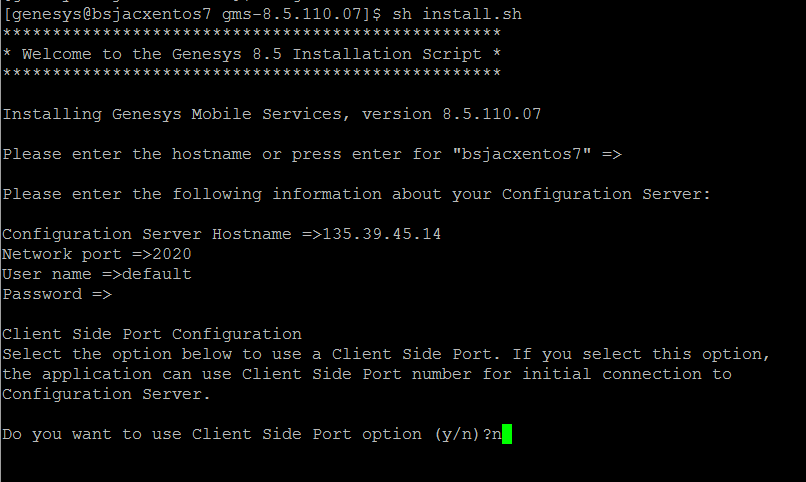
To install Genesys Mobile Services on Linux, run the sh install.sh command to start the Installation Script. This step-by-step script will request the same inputs than detailed previously in the Windows Installation Wizard.
Optional - Test your installation
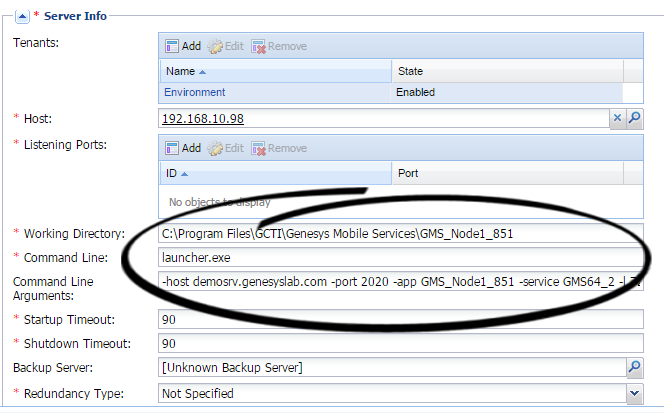
Edit your GMS application in Genesys Administrator. In the Server Info section, you should be able to verify that your installation updated the Working directory and the Command Line fields.
Start your GMS application and browse the Service Management UI
- If you are using Embedded Cassandra, check that you configured create-schema=true for the first start of the first GMS instance in order to create the required Cassandra schemas.
- If you are using External Cassandra, check that you configured create-embedded-server=false in your GMS Configuration.
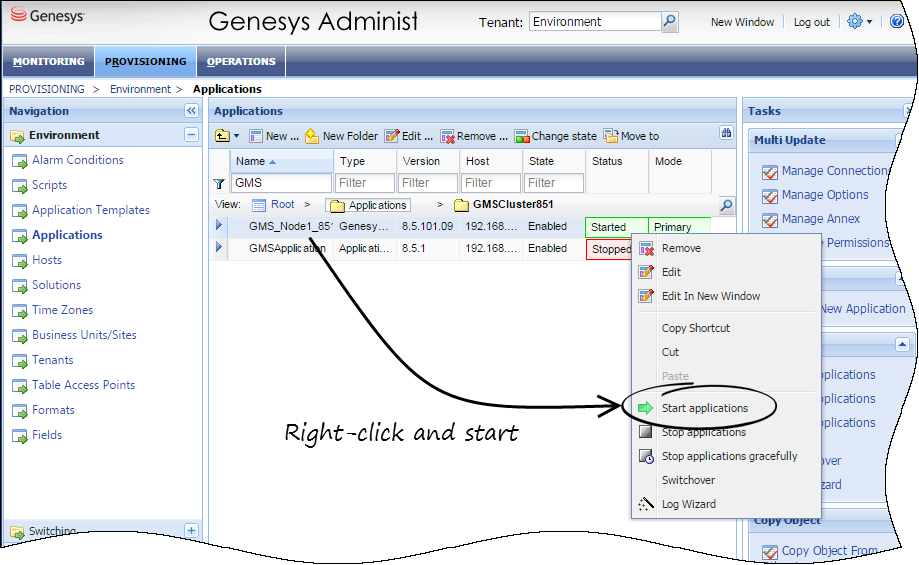
In Genesys Administrator, start your GMS application.
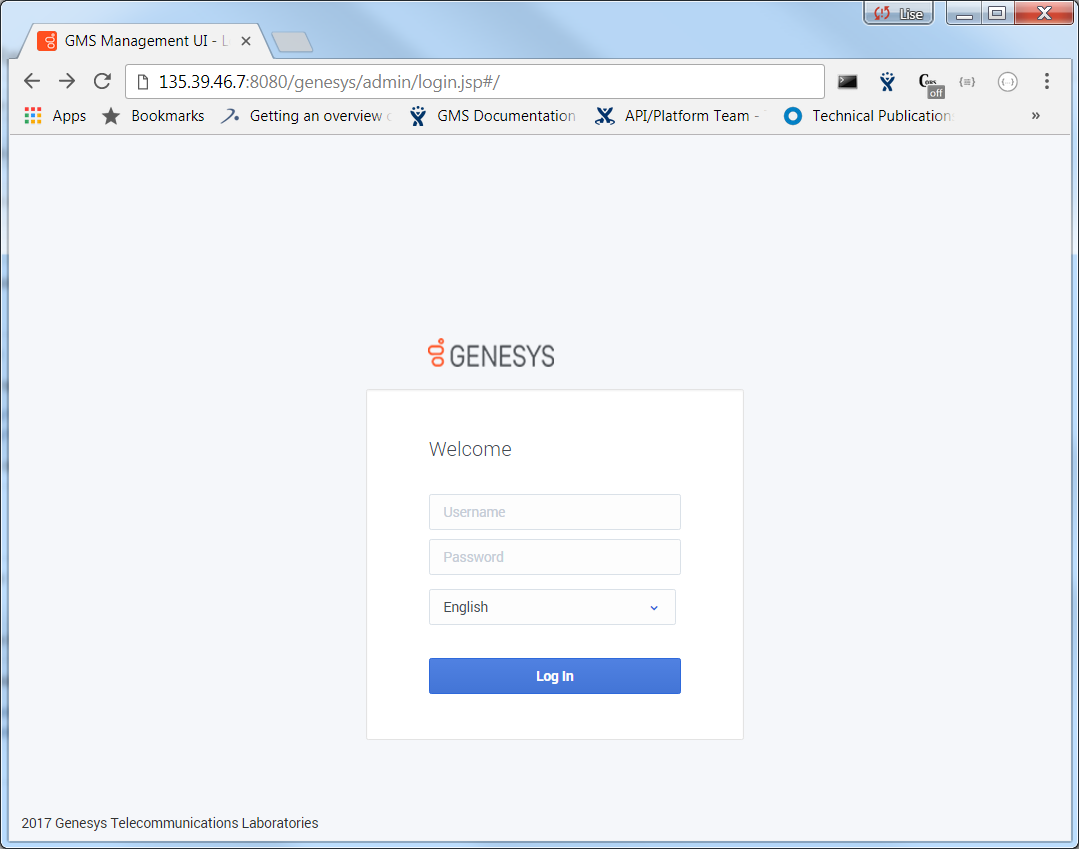
Then, open your web browser for the following URL: <GMS Local Host>:8080/genesys
You should see the Service Management UI of your GMS application.
Next Steps: Setting ORS dependencies.

