Routing Manager
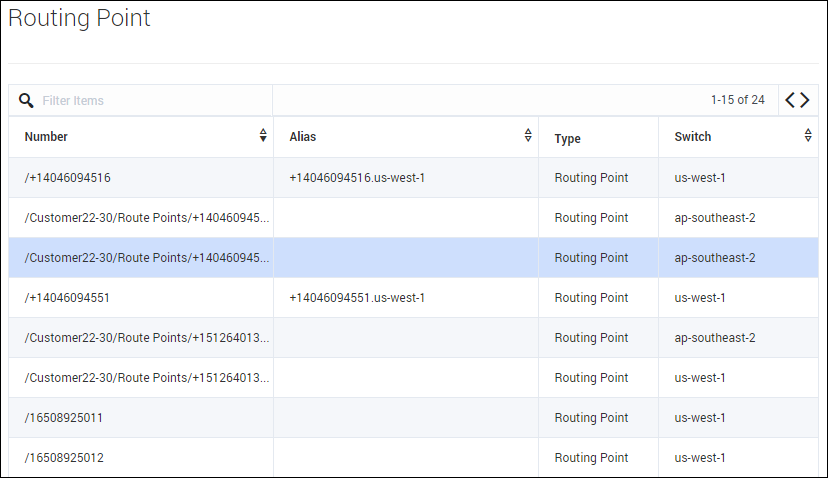
The Routing Manager section on the Contact Center Settings allows you to view your Routing Points and your Virtual Queues, as well as create DN Groups for both.
In the Routing Point and Virtual Queue sections, the Alias name for each line is editable; however all other fields are read only.
You can also filter both lists by Number, Alias, or Switch.
DN Groups
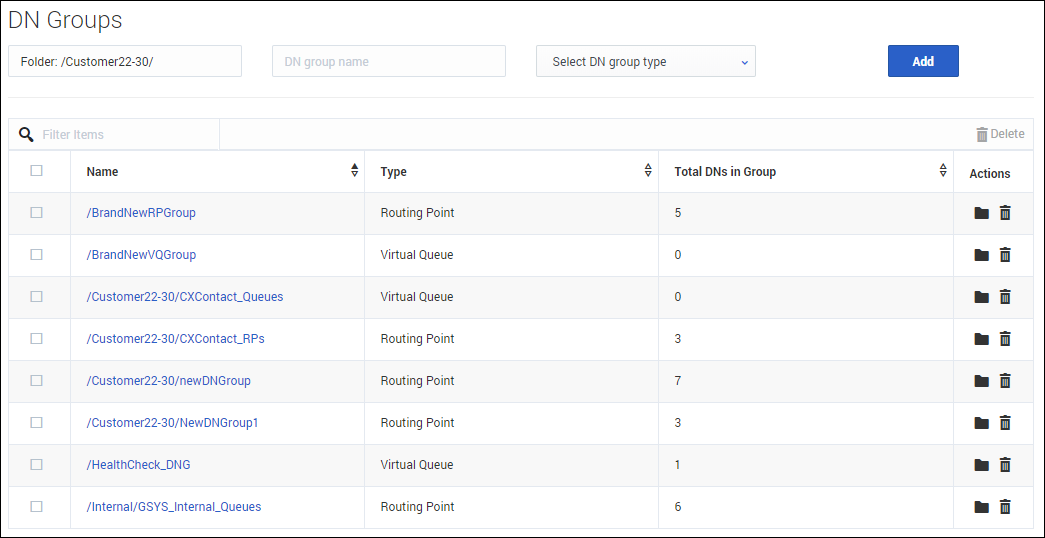
In the DN Groups section, you can group your Routing Points and Virtual Queues for display in Real-time Reporting with Pulse and to simplify the on-boarding of new agent and business groups.
To create a new DN group, select an existing Folder or create a new one, enter the DN group name, and select the group type before clicking Add.
Once you have created a new DN group, select it from the list and begin adding DNs (directory numbers) to the group. You can add DNs by dragging and dropping, selecting one or more and clicking Add, or by clicking on the arrow that pops up when you hover over an available DN. You can remove a DN from a group by clicking the X that pops up when you hover over that DN.


