Contents
Journey Timeline Interface
The Journey Timeline is a web-based interface that provides a visualization of Context Services data. This interface is intended to be used by developers and supervisors looking for detailed information about a specific customer because it is built to search for profiles, services, states, and tasks based on ID information or UCS information. It does not include all the search abilities that are available in typical agent interfaces.
Starting in 8.5.103, you can customize this interface.
Login
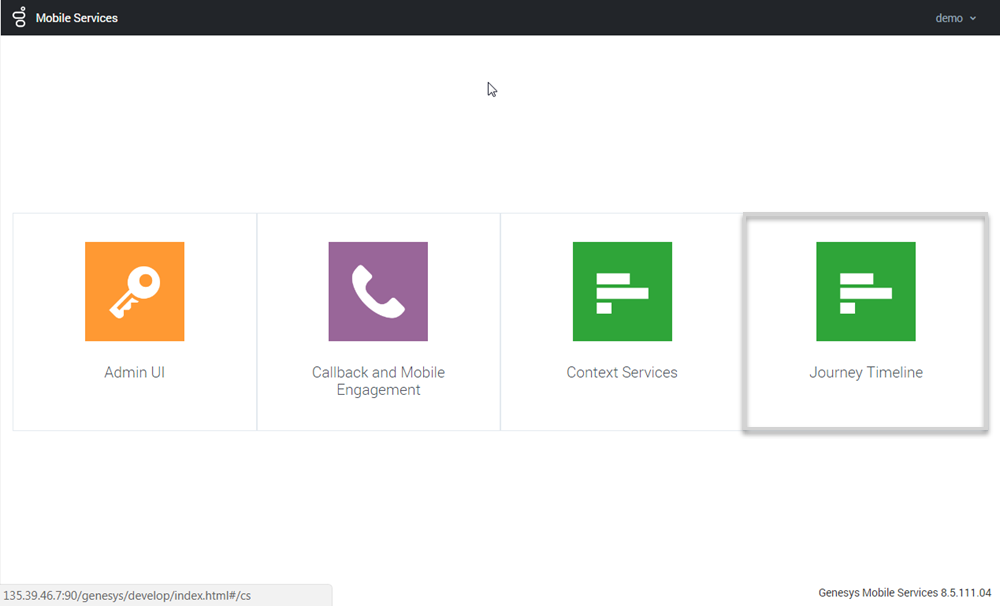
The Customer Journey Timeline is available as part of the GMS Service Management User interface (you can read help information here). To access this interface, you must login as a user who owns the Administrator or Supervisor privilege.
Then, you can select the Journey Timeline item and:
- Search and select a customer.
- Visualize the customer's Journey Timeline.
Search a Customer with Customer Journey
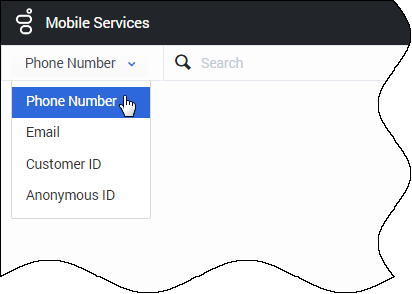
You can query a user based on the email address, phone number, and name fields. These fields must match a value in the UCS database to work correctly. There is no automatic completion available.
Select a key in the search drop-down menu, then enter a value in the Search textbox. The value must match a UCS entry to get a result.
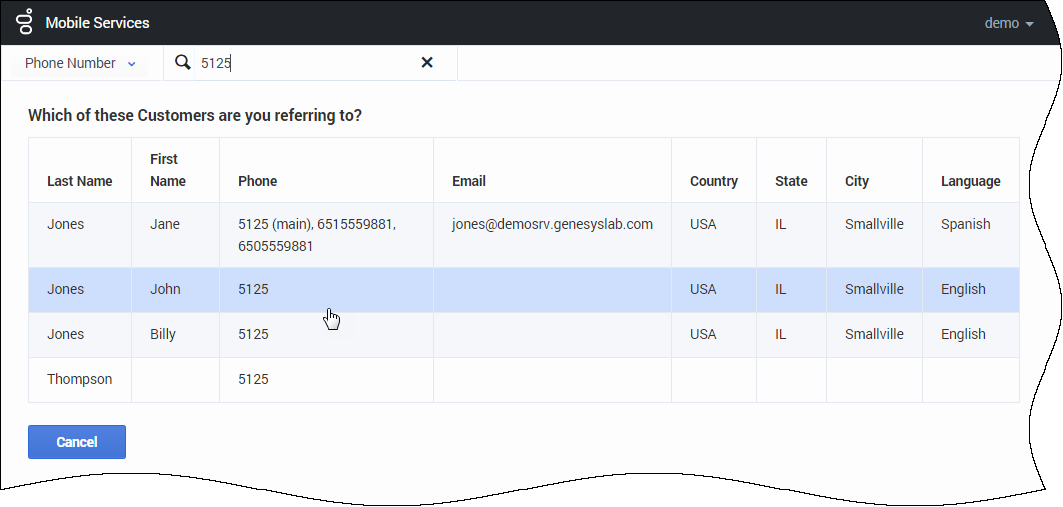
The interface displays a list of results. Select a customer in the list to display the customer's timeline.
Manage the Timeline
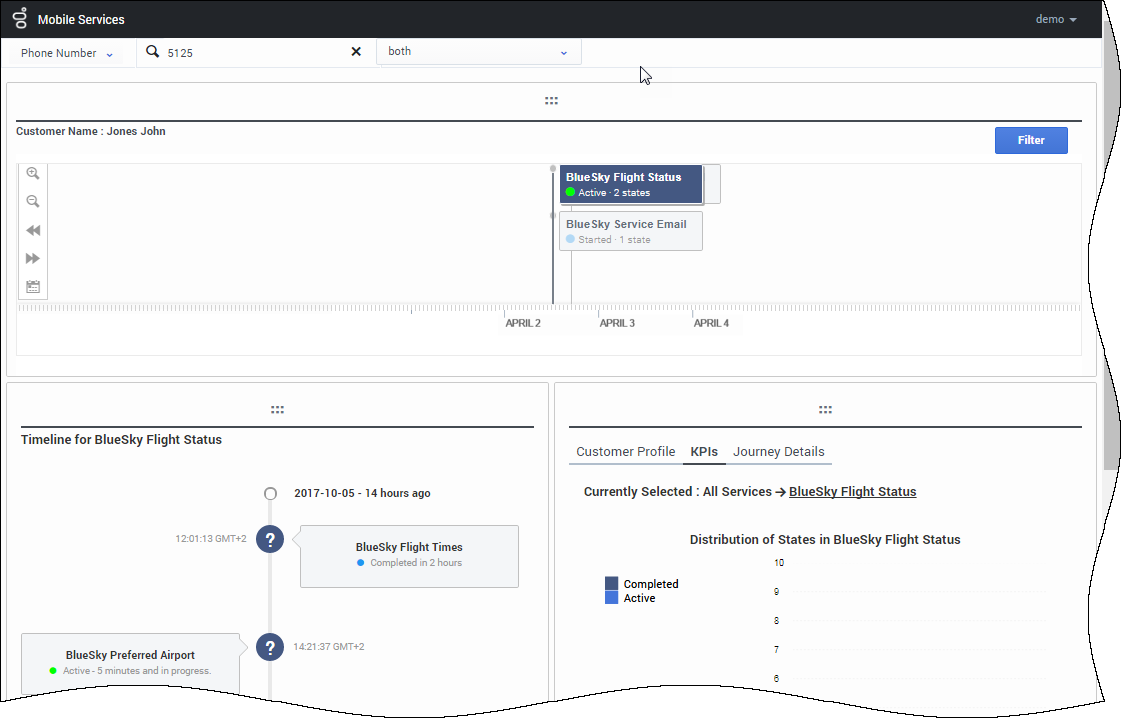
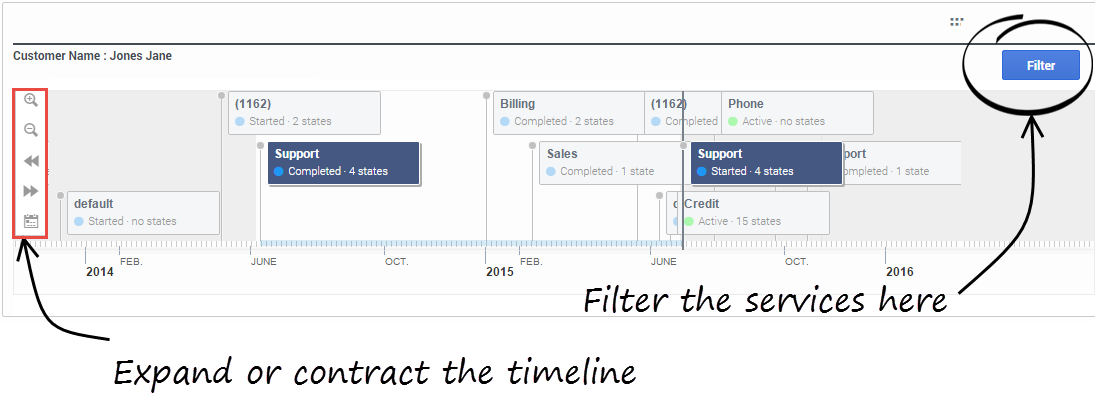
The timeline shows all the customer's services and their current status (active, inactive). If you select a service, Customer Journey displays the list of states for the given selection.
- You can manage the timeline (expand or contract) by using the icons in the left menu sidebar.
- You can zoom or navigate to services by using the icons in the left menu sidebar, or you can simply left-click in the timeline to move it.
- You can also filter the displayed services.
Display States and Tasks
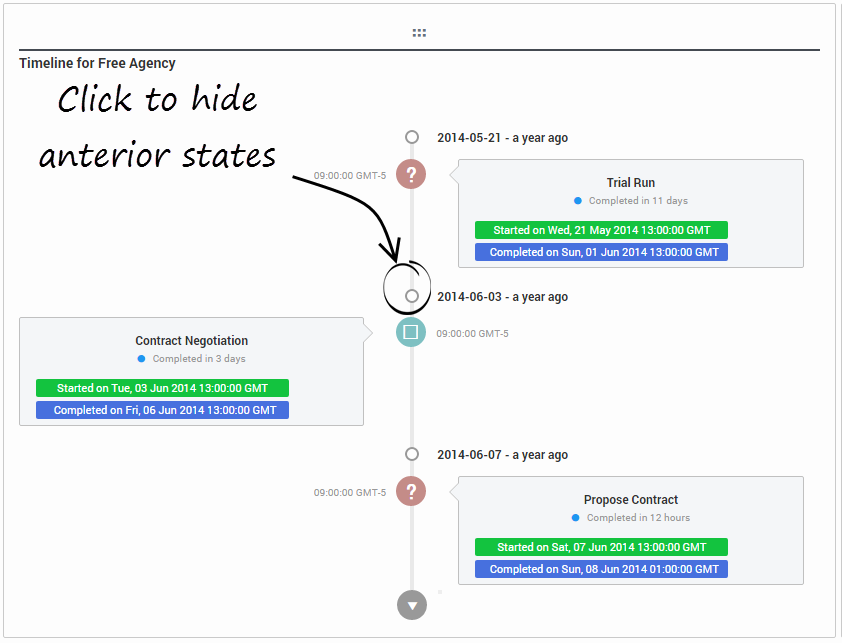
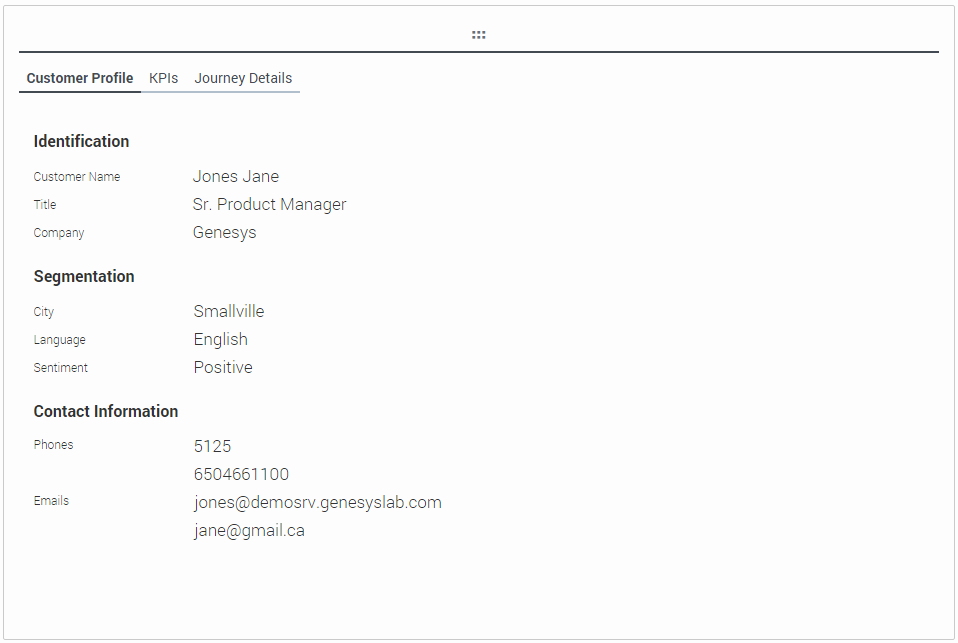
If you select a service in the timeline, for instance, Agency, its nested states and tasks are displayed in the Vertical Timeline. You can then select one of them to get KPIs, customer or journey details.
The selection in the horizontal and vertical timelines automatically updates the information area.
Integrate with UCS Profiles
If you enabled Customer profiles in UCS, you can integrate Journey Timeline with UCS profiles as follows:
- Install and set up NGINX on your local machine
- Ensure that the NGINX configuration includes the following information:
location /genesys/1/cs/profiles { proxy_pass http://<location of UCS>/profiles; }
location /genesys { proxy_pass http://localhost:8080/genesys; }
