Contents
Manual Installation of IWDBPs
Manual Installation of iWDBP for IRD
The business process for iWD is provided as a .wie file that can be imported manually through the Genesys Interaction Routing Designer. The iWD business process .wie files are saved to your file system when the iWD Manager Installation Package is installed.
Procedure
- In the IRD main window, click Interaction Design.
- Click Business Processes. The existing Business Processes are listed for selection.
- Double-click a Business Process to open the Interaction Design window.
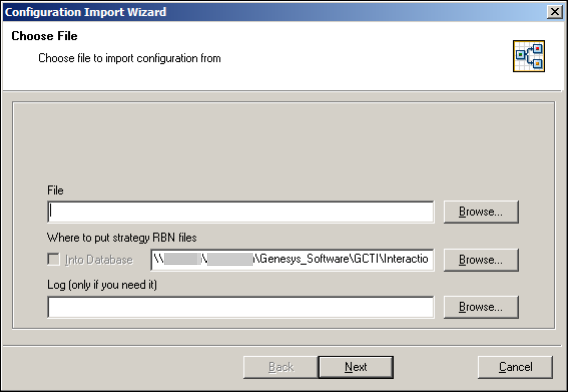
- From the File menu, select Import. The Configuration Import Wizard Choose File page appears.
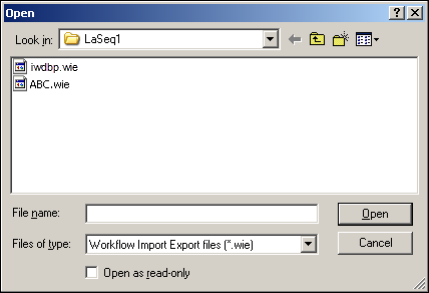
- Next to the File text box, click Browse. The Open dialog box appears.
- Locate the iwdbp.wie file, and double-click it. The Open dialog box closes. IRD inserts the selected directory path and file name into the File text box in the Configuration Import Wizard.
- Under Where to put strategy RBN files, do one of the following:
- Click Browse, and then locate the folder that will hold the graphical portion of strategies in the Business Process (strategy *.rbn files, which consume more space than the script portion of strategies).
- Select the Into Database checkbox (if it is enabled), to save *.rbn files in a database.
- In order for the Into Database checkbox to be enabled, a Database Access Point must appear in the Connections tab of the IRD Application in Configuration Manager.
- The database used is the Configuration Server database. The table name is ird_strategies.
- If security is a consideration, you may want to store the .rbn files in a database. For example, if you are a Service Provider, you might not want your subscribers to have access to your corporate drives. In this case, saving to the database in the recommended method.
- If you want to save the details of the import operation to a log file, click Browse next to the Log text box (unless the log file is already selected), and then locate or create the log file.
- Under Log (only if you need it), you have the option of saving business process import details in a log file. If you wish to do this, click the Browse button and locate/name the log file.
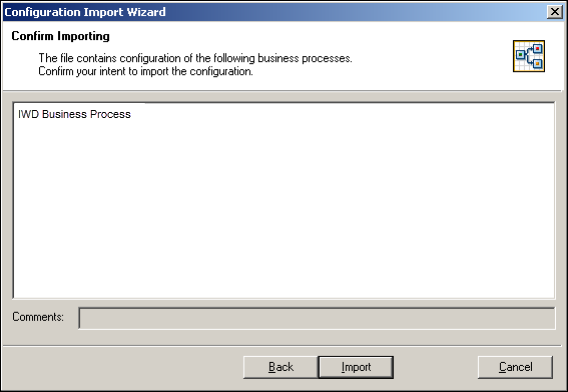
- Click Next. The Configuration Wizard Confirm Importing page appears.
- If you are satisfied with your entries, click Import; otherwise, click Back to return to the Configuration Import Wizard Choose File page, and repeat Steps 5-9.
After you click Import, the Configuration Import dialog box appears. A progress bar shows the progress of the import. - Do one of the following:
- To update your configuration settings immediately after the update, click Refresh.
- Click Close; then at any time, you can update your configuration settings by selecting Refresh from the File menu.
- Respond to any messages that appear.
Notes:
Manual Installation of iWDBP for Composer
Import the Composer IWDBP project template (iwd_bp_comp) which is provided with the iWD software distribution artifacts here:
- <iWD Manager Installation Directory>/config/iwd_bp_comp.
Prerequisites
Configure your Web Application Server by following the application server requirements guidelines here (new document).
Procedure
- Run Composer (or Eclipse with the Composer plug-in).
- Switch to Composer Design or Composer perspective.
- Select File > Import > General -> Existing Project into Workspace.
- Select the iwd_bp_comp template and click Next.
- Select the Project locale and click Finish.
- Connect to Configuration Server.
- Select the Tenant that will be used for the business process.
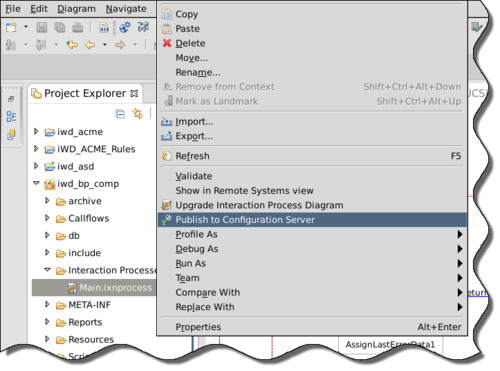
- Publish the Composer configuration objects to Configuration Server. Do this by right-clicking on the Interaction Processes/Main.ixnprocess script, then clicking Publish to Configuration Server.
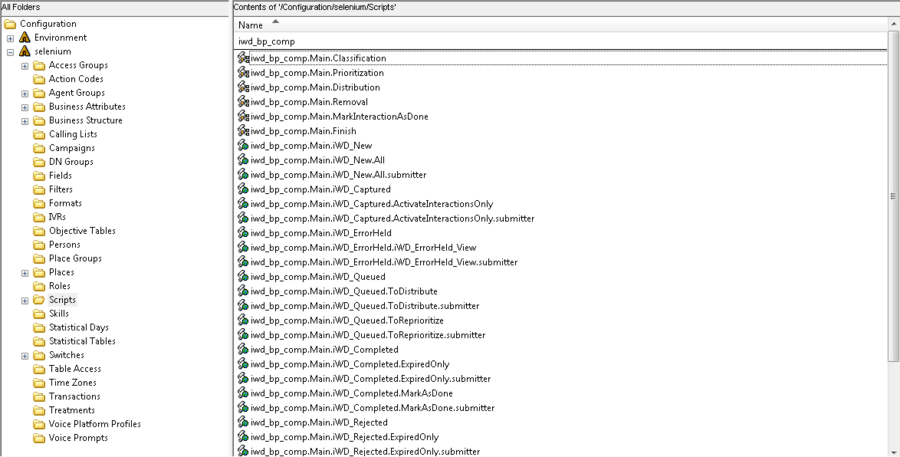
- When the project is successfully published to Configuration Server the following objects will be created under the <selected tenant> Scripts folder on Configuration Server:
- Composer can show warnings in Queue Interaction blocks. In these blocks select Properties->Destination->Interaction Queue Name even if it is already set and save changes.
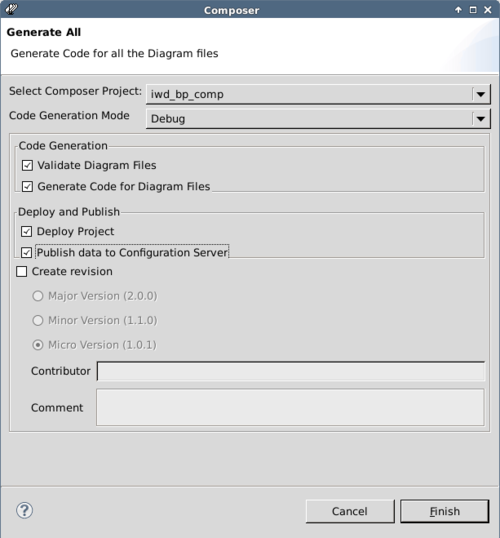
- Right-click the iwd_bp_comp project and click Generate All to display the Generate All dialog.
- Check the Deploy Project and Publish data to Configuration Server checkboxes and click Finish. This deploys the iwd_bp_comp application to Tomcat and generates *scxml files that can be accessed via http.
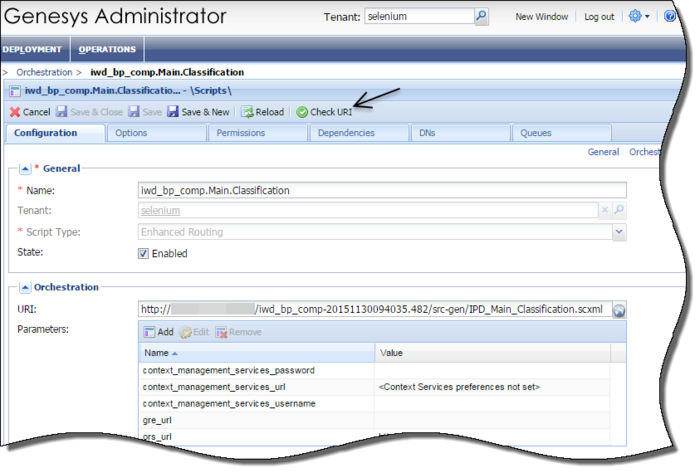
- To verify that the URL to the generated files is valid, log in to Genesys Administrator.
- Navigate to <Used tenant> -> Provisioning -> Routing/eServices -> Orchestration -> iwd_bp_comp.Main.Classification.Classification.
- Click Check URI to verify whether the Composer-generated URL is valid.
This page was last edited on December 19, 2017, at 15:00.
Comments or questions about this documentation? Contact us for support!

