Creating Certificates
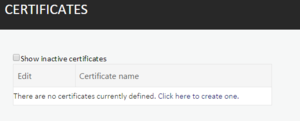
Go to the Certificates page. Any existing certificates will be visible. To create a new certificate, Click click here text.
Enter a meaningful name for the Certificate in the field provided. It is important that you name your certificate appropriately as you will need to assign this to individual assessments at a later date.
When you have entered the Certificate name, click the plus icon to save the name change.
If you wish to rename the Certificate click the icon which will enable you to change the Certificate name.
Click the icon to confirm your changes. If you wish to cancel your changes you can select the icon.
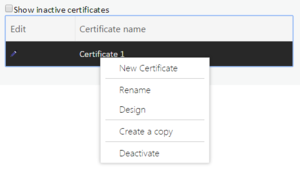
To design the content within the Certificate, right-click the certificate name and select Design from the dropdown menu. (You will notice that you can also rename existing and create new Certificates from this menu as well.
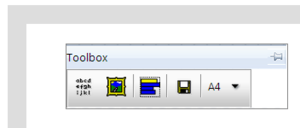
After selecting Design you will be presented with a blank page containing the toolbox.
The white area within the grey border represents your certificate page. By clicking on the title bar of the Toolbox you can drag this around the screen in order to make it easier to see more of your page.
Items are added to your page by selecting them from the toolbox. Once selected they will be added to the top left-hand corner of the screen and can then be dragged and resized into position.


