Workbench Upgrade - Windows - Primary Node
The Workbench installation files will be contained in the Genesys My Portal obtained downloaded compressed file.
Important
- All Workbench deployments require a Primary Node. In any WB Cluster deployments, the WB Primary Node must be upgraded prior to upgrading WB Additional nodes/applications. Ensure WB Additional nodes are up and running until the WB Primary node upgrade is completed. Once the WB Primary node upgrade is completed and its "Services" are "Started", proceed with the WB Additional nodes upgrade process in section “Workbench Upgrade – Windows - Additional Node”.
- The Workbench installation uses the Ant Installer component. If during the Workbench upgrade a Network Account install is selected, the Ant Installer prints the username and password details to the "ant.install.log" file. Genesys therefore recommends, after upgrade, at a minimum the "ant.install.log" file be manually edited and the password be masked/deleted.
- Use an Administrator level account when running the Workbench install.bat file.
- Genesys does not recommend installation of its components via Microsoft Remote Desktop.
- If the Workbench installation is cancelled mid completion, please ensure the Workbench install directory is cleaned/purged prior to attempting another install.
- For Workbench 9.0 to 9.2 Kibana uses port 8181 and Workbench IO uses port 8182
- For Workbench 9.3 Kibana uses port 8182 (localhost access only) and Workbench IO uses port 8181
Warning
- Before commencing the Workbench upgrade - please ensure the Workbench Host(s) have 'free' at least 3 times the size of the "<WORKBENCH_INSTALL>/ElasticSearch/data" directory - else the Workbench upgrade process will fail and Workbench data integrity and operation will likely be compromised.
Please use the following steps to upgrade Workbench 9:
- Extract the downloaded Workbench_9.x.xxx.xx_Pkg.zip compressed zip file.
- Navigate into the Workbench_9.x.xxx.xx_Pkg\ip\Windows folder.
- Extract the Workbench_9.x.xxx.xx_Installer_Windows.zip compressed zip file.
- Navigate into the Workbench_9.x.xxx.xx_Installer_Windows folder
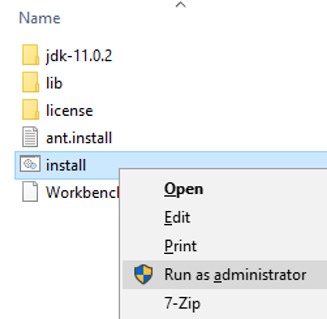
- Right Click on the install.bat file and select Run as Administrator; alternatively, open a command prompt As Administrator and run install.bat.
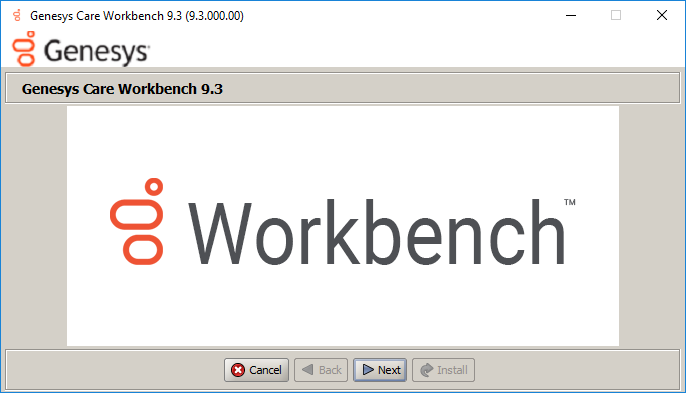
- On the Genesys Care Workbench 9.x screen
- To start the Workbench upgrade, click Next
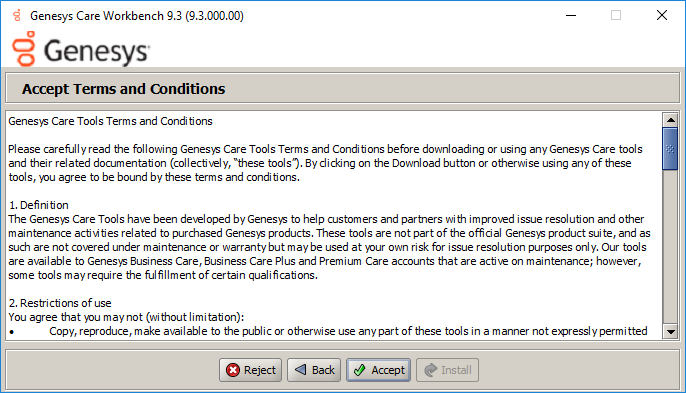
- Review and if in agreement
- Click Accept to the Genesys Terms and Conditions to continue.
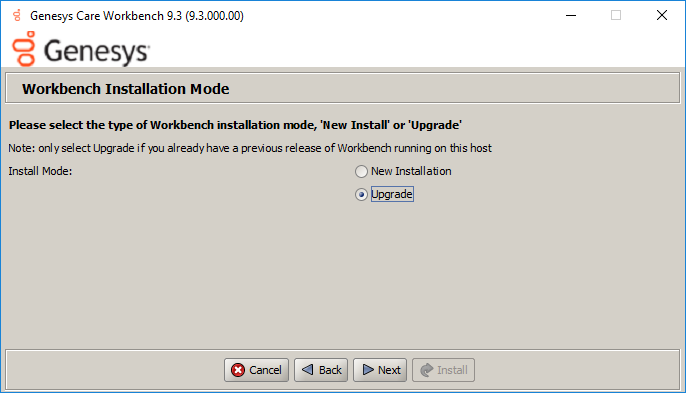
- On the Workbench Installation Mode screen
- Select Upgrade mode given there is already a previous release of Workbench running on this host/node.
Important
- All the Workbench components, on this host, where the upgrade installer has been initiated, will be upgraded.
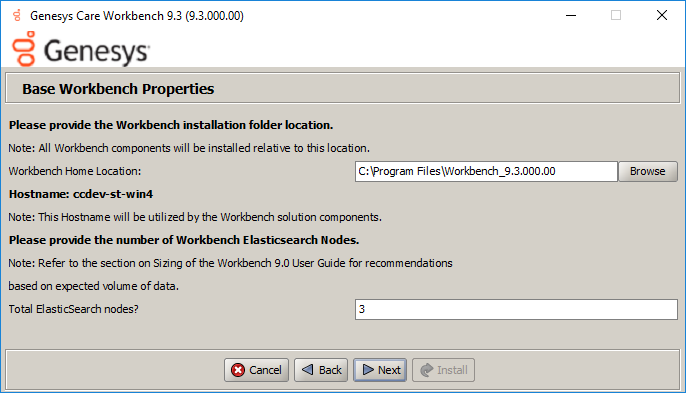
- On the Workbench Home Location folder
- Provide the path where the new Workbench components will be installed (i.e. "C:\Program Files\Workbench_9.x.xxx.xx")
- Select default to accept the default options
- Select Custom to change the default options
Important
- This new version directory has to be different than the current/old Workbench version installation location.
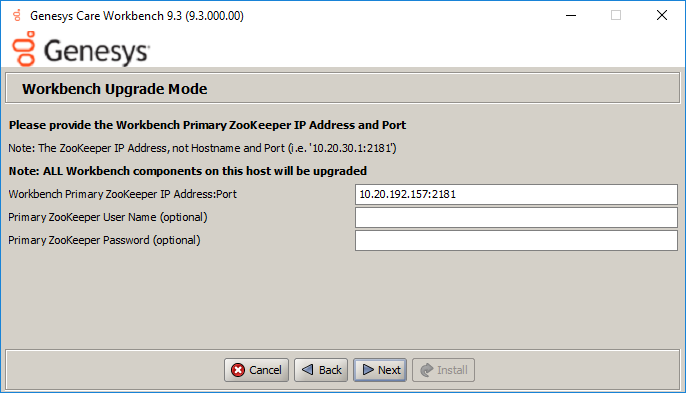
- On the Workbench Primary Zookeeper IP Address and Port.
- Enter the Primary ZooKeeper IP:Port and click Next
Important
Provide Primary Zookeeper IP Address:Port (i.e. do not enter the hostname:port)
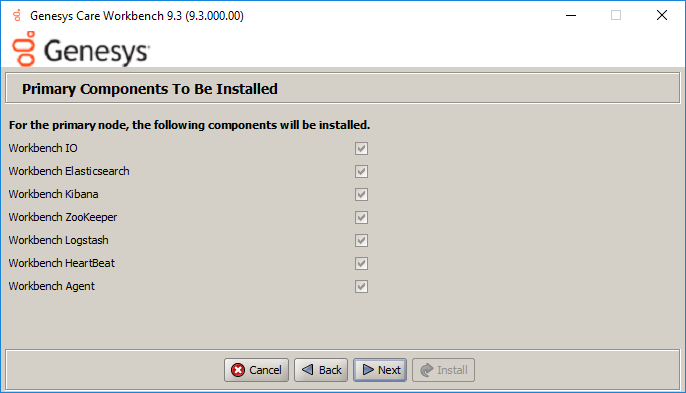
- On the Workbench Components to be Upgraded screen.
- Which provides context on which Workbench components will be upgraded
- Click Next
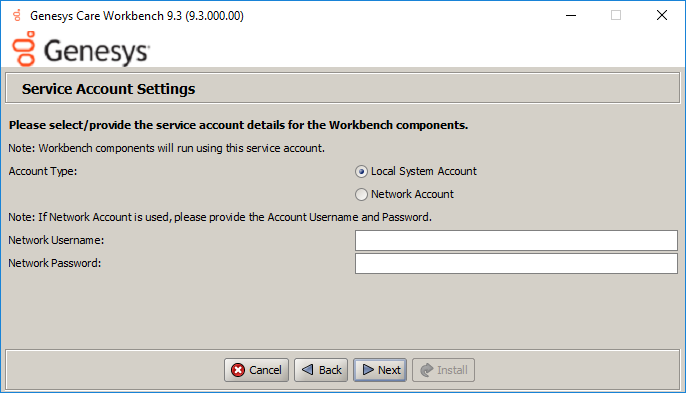
- On the Service Account Settings screen
- The Workbench components are installed and executed as Services and the appropriate permissions are required to install them.
- Select either Local System Account or a Network Account
- if Network Account is selected, provide the Username and Password to be used.
- Once complete, click Next.
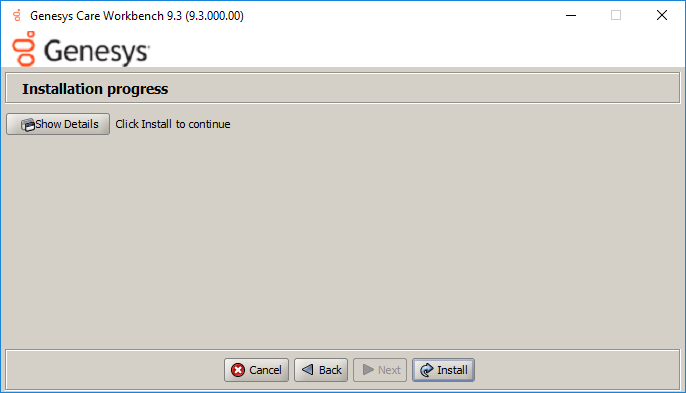
- On the Installation Progress screen
- Click Install
Tip
- The Show Details button allows you to review the steps the installer is taking to install the Workbench component(s).
- This is also a good source for any errors that may be observed during the upgrade process.
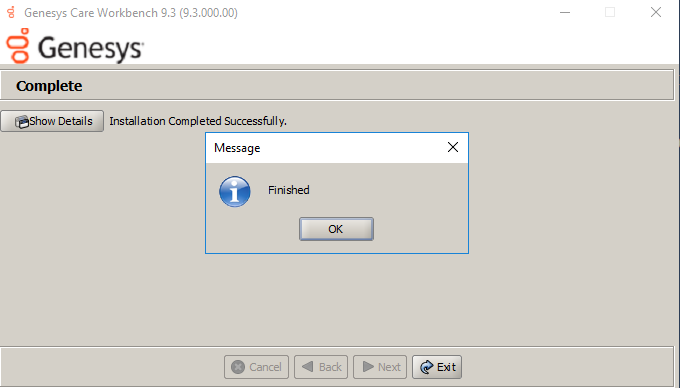
- On the Installation Complete screen
- Click OK and Exit when presented with the Finished dialog
Important
- Once the new Workbench version is installed, new Workbench 9.x.xxx.xx Services will be registered in the Service registry
- The previous Workbench version Services will be automatically Stopped and set to Manual.
- The Workbench port configuration of upgraded components will be same as the Workbench old components.
- The Workbench data and log folders will be automatically created in the new Workbench installed location.
- At the end of the upgrade process, Workbench 9.y.yyy.yy Cluster, data and configuration will be restored as per the prior Workbench 9.x.xxx.xx installation.
- Next Steps
Important
- The Workbench Primary Node has been upgraded
- If there are Additional Workbench Nodes at this Data-center, please continue to upgrade those using the Workbench Upgrade – Windows - Additional Node section as a reference
Warning
- The respective Workbench Agent Remote (WAR) components, installed on hosts such as SIP, URS, GVP etc, will be upgraded based on the WAR Upgrade Time (default 02:00)
- For WB 9.3 the WAR [General] Log File Location, Segment and Expire fields will be blank post an upgrade until the WAR Upgrade Time (default 02:00) is triggered and the WAR upgrade is completed
This page was last edited on June 22, 2022, at 08:38.
Comments or questions about this documentation? Contact us for support!

